TERA Bathysmal Rise Exclusive Walkthrough
This article will give details of Bathysmal Rise ―the five-man raid coming to TERA with the Fate of Arun expansion―, of what enemies you can expect and their abilities. You can also watch the video we recorded during the exclusive press walkthrough with the En Masse team.
The dungeon itself is a sort of underwater city/ancient complex, it didn’t take too long before we reached the first sub-boss, a giant angry turtle named Mephisis. This particular mob has a few interesting tactics in the form of area attacks that players can try to dodge when they see the targeting reticule appear on the ground, but primarily he focuses on collapsing some rocks at the other end of the vicinity of the battle that releases a noxious smoke that pretty much sends players tripping out, with an awesome visual effect that makes it hard to move, focus or target anything. To mitigate this we were told that players must run over to the rocks and interact with them (F) to close up the hole where the gas is coming from; we volunteered. Unfortunately we initially went to the wrong area when the rocks collapsed, then struggled to interact with them properly (our fault) causing the death of our Priest... not our finest hour, but thankfully we managed to get back on our feet and bring the battle home.
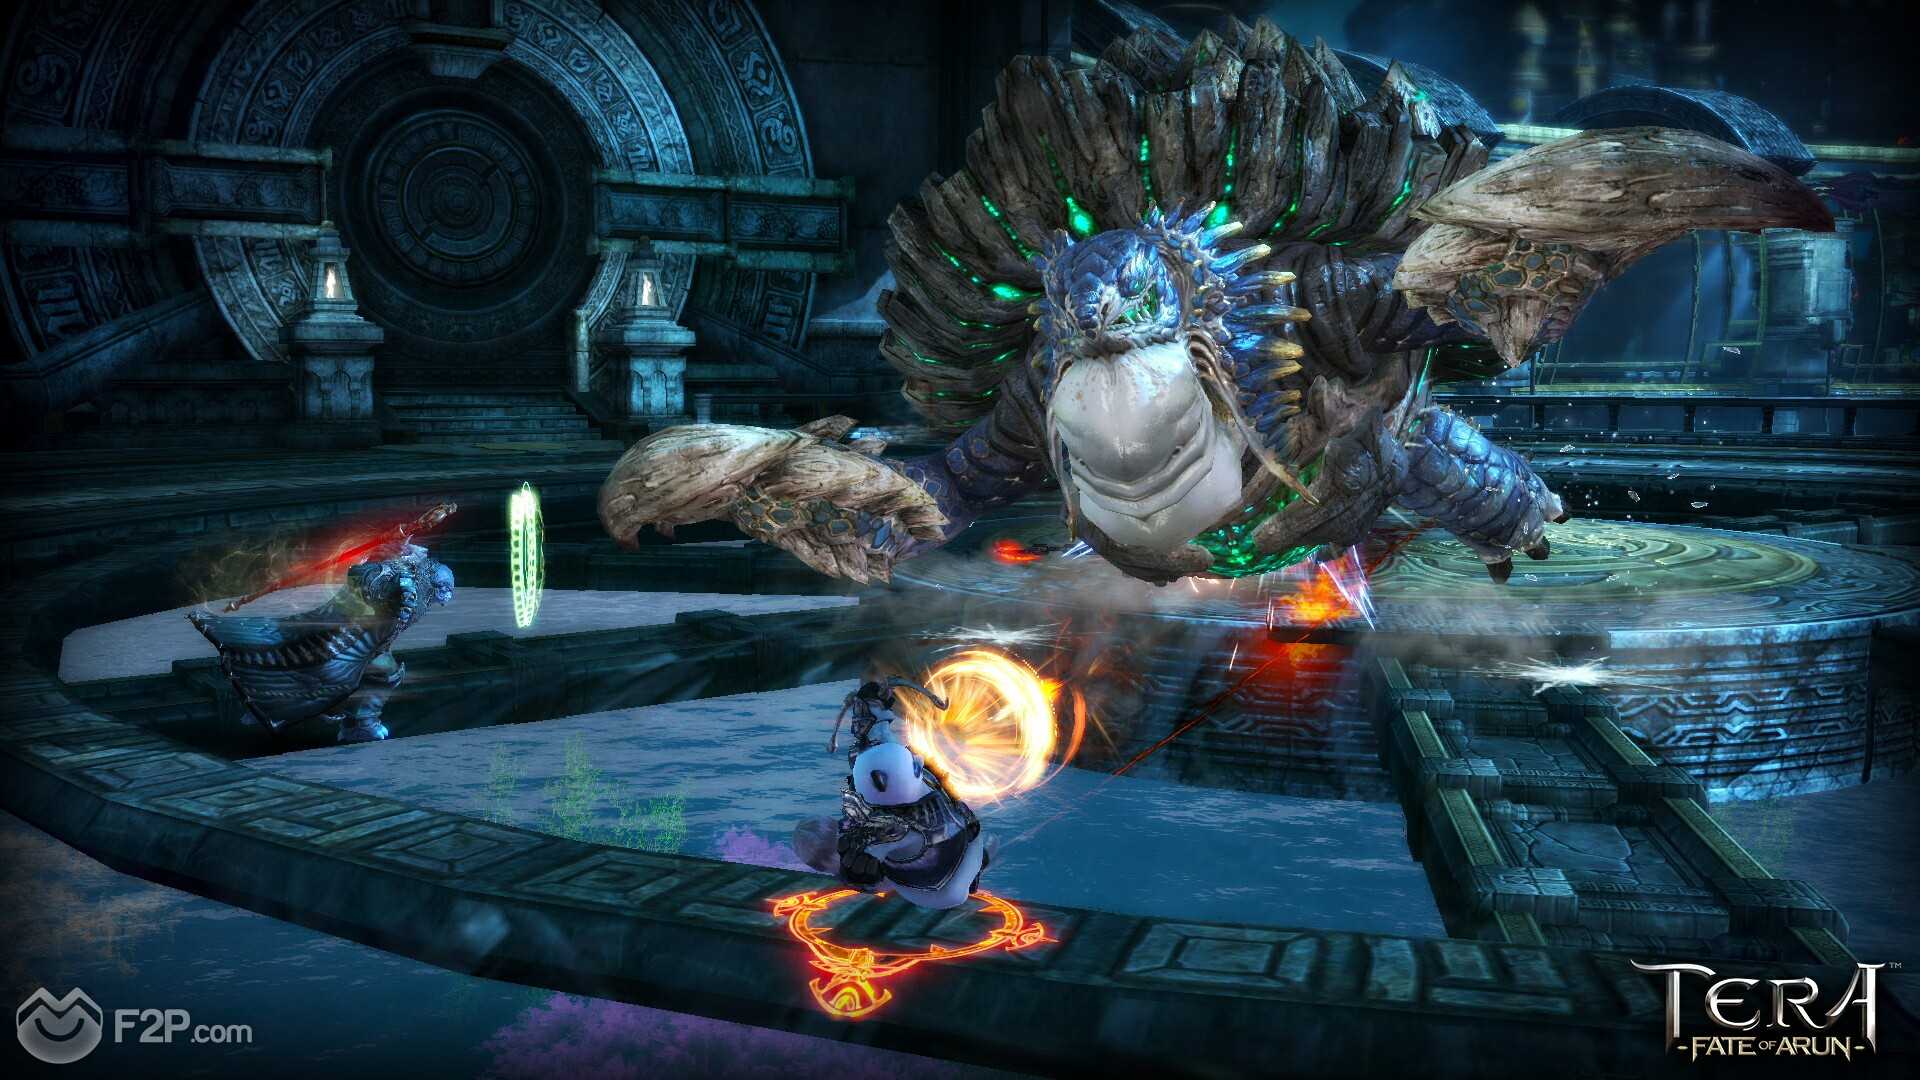
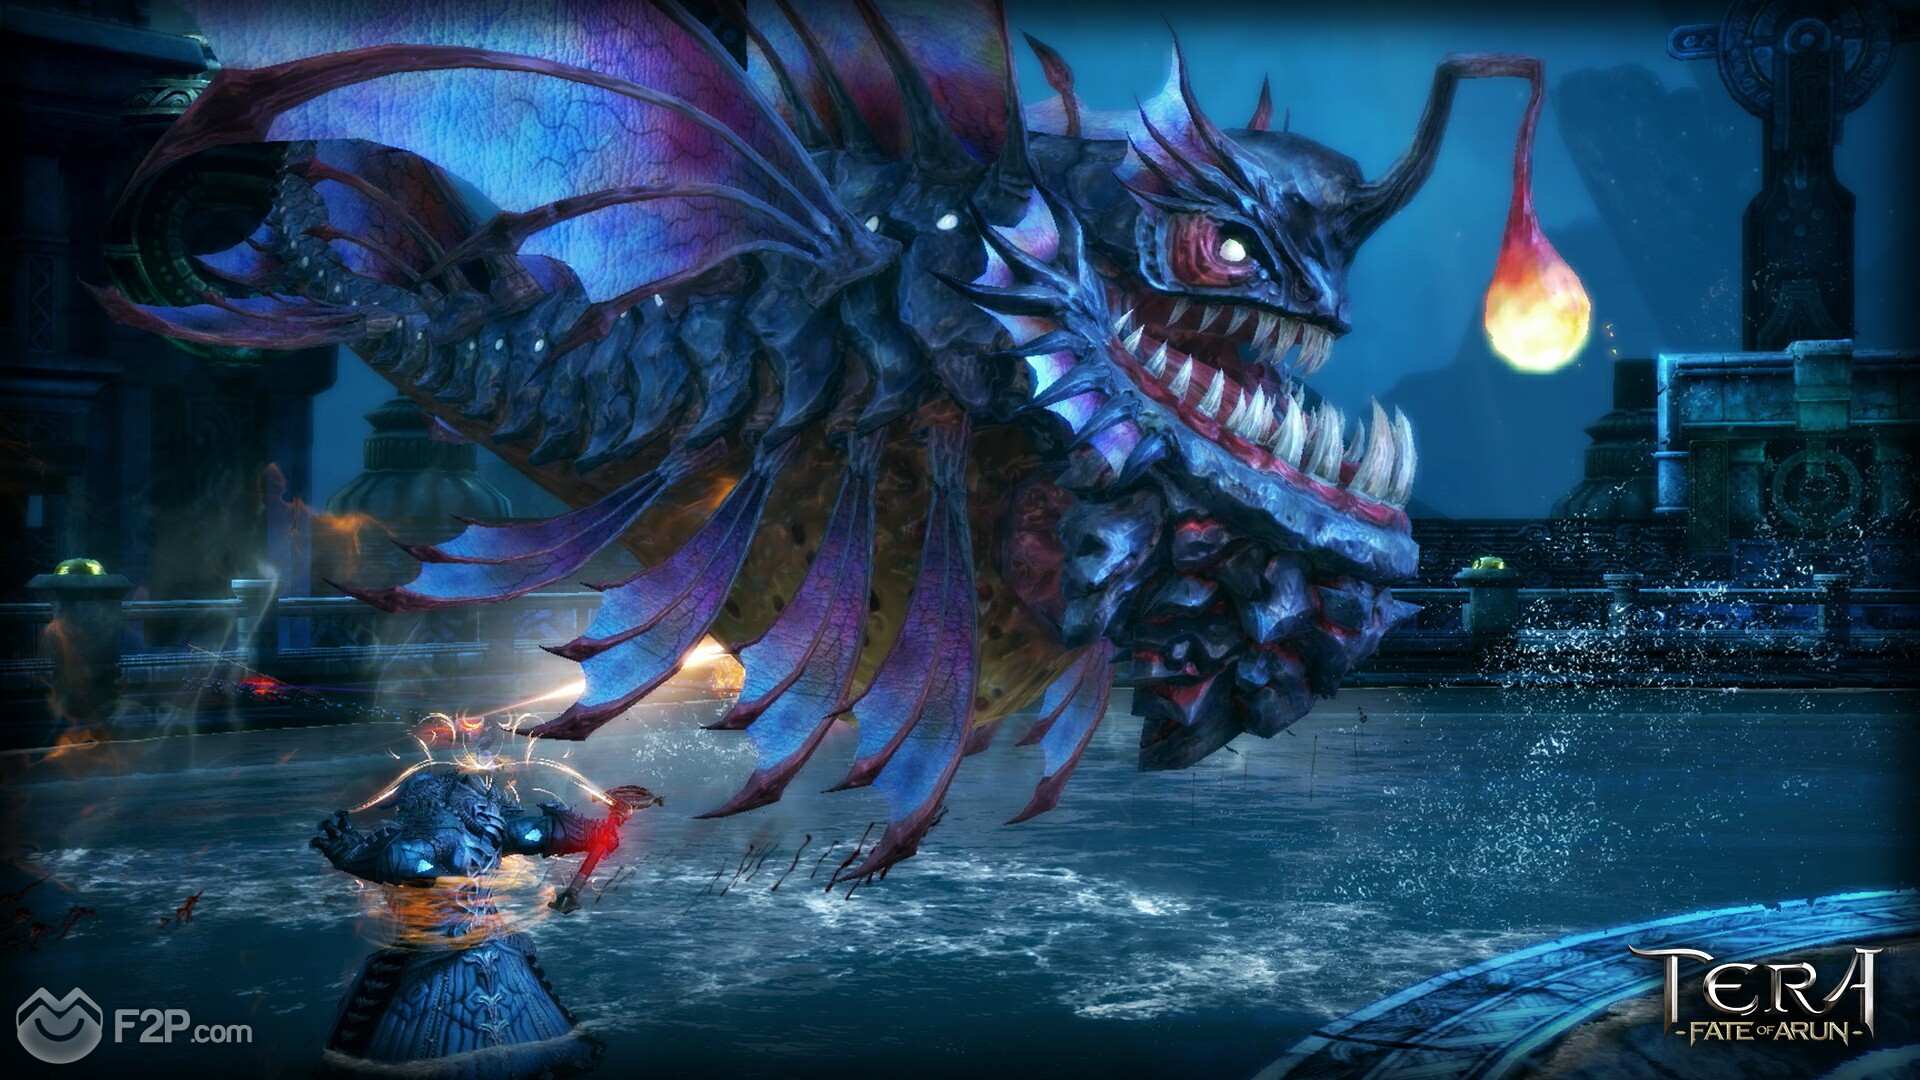
Moving on we fought through a variety of jellyfish, giant hermit crabs and starfish type creatures, easy mobs we needed to fight through to reach Tantibus; essentially part Angler Fish part every other hideous aquatic creature you might find at the bottom of the ocean. This particular mob had a penchant for poisoning players, damaging them and making them lose control of their character, the only way to clear the effect was to swim in the pool of cleansing at the centre of the arena (we were cautioned not to die in that pool as our Priest couldn’t swim and cast the necessary resurrection spell to bring us back if we did, so best not to fight too near it).
After defeating Tantibus we came across a puzzle encounter to pass through the dungeon to our next area, three spheres that had to be attacked at the right time, we’re not sure how players would necessarily know this when they first arrive and we were assured that bad things happen if you destroy the wrong sphere; fortunately we didn’t have this issue and managed to progress with ease, but it was nice to see a thinking puzzle challenge within the dungeon.
Making our way to the final boss we had to fight past a variety of more mobs, lining the path were large urn type objects that electrified djinn/genies would appear from, the genies randomly attack anyone nearby unless a player interacts with their urn, switching them to their side so that they instead attack only the other enemy mobs.
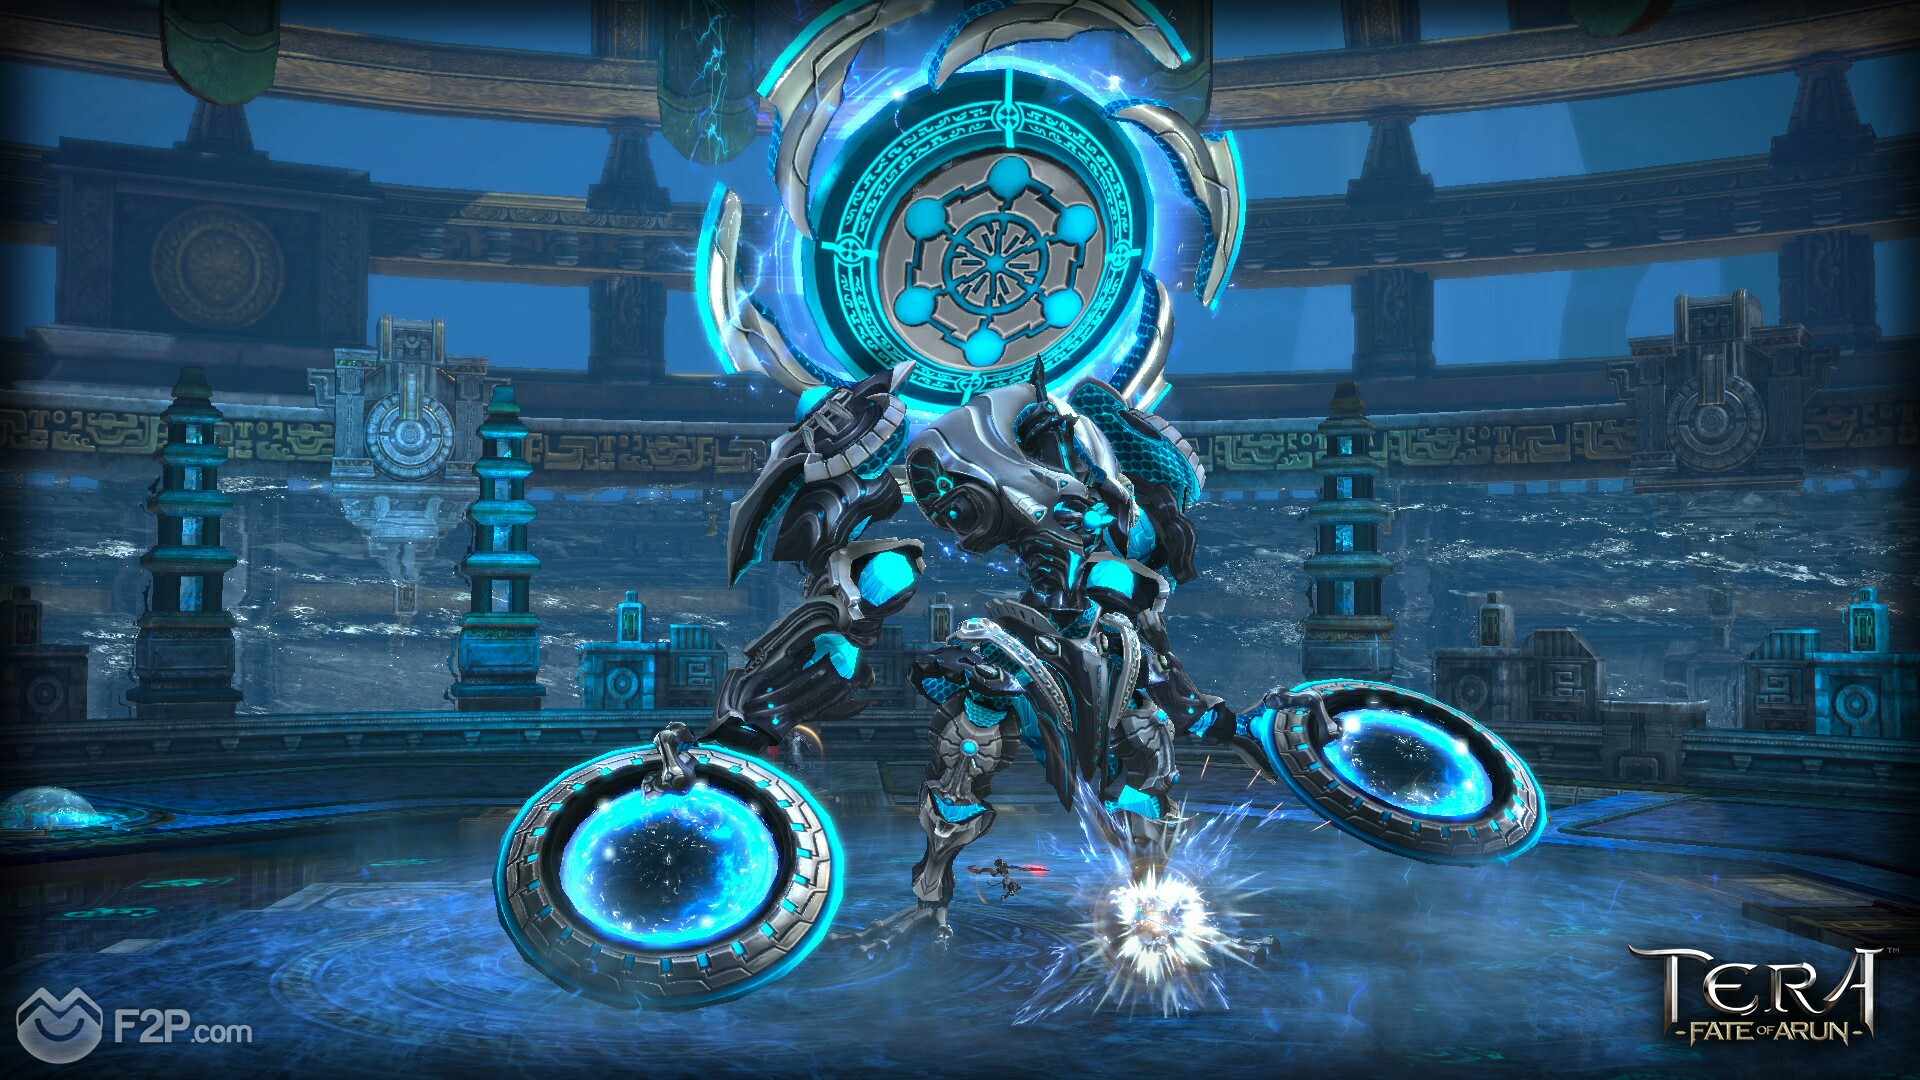
Finally we reached the end boss, the Weapon itself that the Arch-Deva are looking to control, a huge construct named Fulminar that has a whole host of tricks and attacks that can seriously punish an ill prepared group. This particular Boss has huge rotating pizza cutter discs that he constantly attacks with, occasionally opening up with an extremely powerful frontal attack with them able to wipe out anyone in the area that is a little on the squishy side ie. Sorcerers and Archers… As well as this he occasionally summons electrifying orbs of light that will stay in place and continue to attack the party unless they are dispatched, if you don’t handle them then they can very quickly fill up the entire area. Occasionally Fulminar would perform some huge attacks such as the spinning pizza cutter discs that would spin across the full length of the area, their projected path highlighted on the floor that these discs would fire across and players had to dodge them.
His worst attacks (and by worst we mean for us personally…) was an attack that would knock everyone flying away from him, as far as the other side of the arena if you weren’t careful of your positiong, and then quickly summon a tide of water into the room where we had to rush back to him as quickly as possible before the water hit us for an instant kill. We died many… many…. many times. The battle itself went on for well over 30 minutes and we still hadn’t got him lower than 30% health and so Patrick opted for wrapping up with an insta-kill to show us the fruits of our labour.

If you want to know more about TERA, click on the "Info" button below.
Featured Free-to-play Games
 Play Call of War
 MMORTS Mobile Game
Browser Games Bytro Labs Call of War Cross Platform Free MMO Game Apps Mobile Game

 Play Conflict of Nations WW3
 MMORTS
Browser Games Browser MMORTS Conflict of Nations Modern War Conflict of Nations Wolrd War 3 Mobile Games
 Play Supremacy 1914
 MMORTS Mobile Game
Browser Games Bytro Labs Cross Platform Dorado Games Free Downloadable Games Free MMO Game Apps Introducing the Supremacy Franchise MMORTS Mobile Game Supremacy1914